
TLDR
Use the printer’s template whenever one is available. A standard Magic card is approximately 63 × 88 mm, commonly described as 2.5 × 3.5 inches. For a general starting point, extend the background about 3 mm beyond every trim edge, keep text and important symbols at least 3–4 mm inside the finished edge, and export at 300 PPI using the final print dimensions. Do not simply type “300 DPI” into a small image and expect it to become sharp.
For files based on the 63 × 88 mm metric size, 300 PPI works out to approximately 744 × 1,039 pixels before bleed. A U.S. 2.5 × 3.5-inch file is 750 × 1,050 pixels. Those are useful checks, not universal upload specifications: different printers use slightly different finished sizes, bleed zones, templates, and required pixel dimensions.
What size is an MTG card?
The practical target for a standard Magic card is 63 × 88 mm, or roughly 2.5 × 3.5 inches. Ultra PRO uses that standard-card sizing for sleeves intended to fit Magic cards. Ultra PRO’s standard card sleeve specifications provide a useful physical reference.
The metric and imperial measurements are not exact equivalents. Converting 2.5 × 3.5 inches produces 63.5 × 88.9 mm, not precisely 63 × 88 mm. That small difference may be irrelevant for a sleeved home print, but it matters when a commercial printer expects artwork to match a specific cutting template. DriveThru Cards, for example, distinguishes between U.S. Poker and Euro Poker formats rather than treating every approximately Magic-sized card as identical.
| File target | Finished dimensions | Pixels at 300 PPI | Best use |
|---|---|---|---|
| Metric MTG reference | 63 × 88 mm | About 744 × 1,039 px | Checking art prepared around metric card dimensions |
| U.S. poker reference | 2.5 × 3.5 in | 750 × 1,050 px | Checking art prepared around an imperial finished size |
| DriveThru U.S. poker layout | 2.75 × 3.75 in | 825 × 1,125 px | That vendor’s finished size plus 1/8-inch bleed |
Do not resize a printer template to force it onto your preferred measurement. Download the template first, preserve its canvas dimensions, and place the card design within its trim, bleed, and safe-area guides. The template controls the production file; the nominal MTG dimensions are the compatibility check.
How much bleed should an MTG proxy file have?
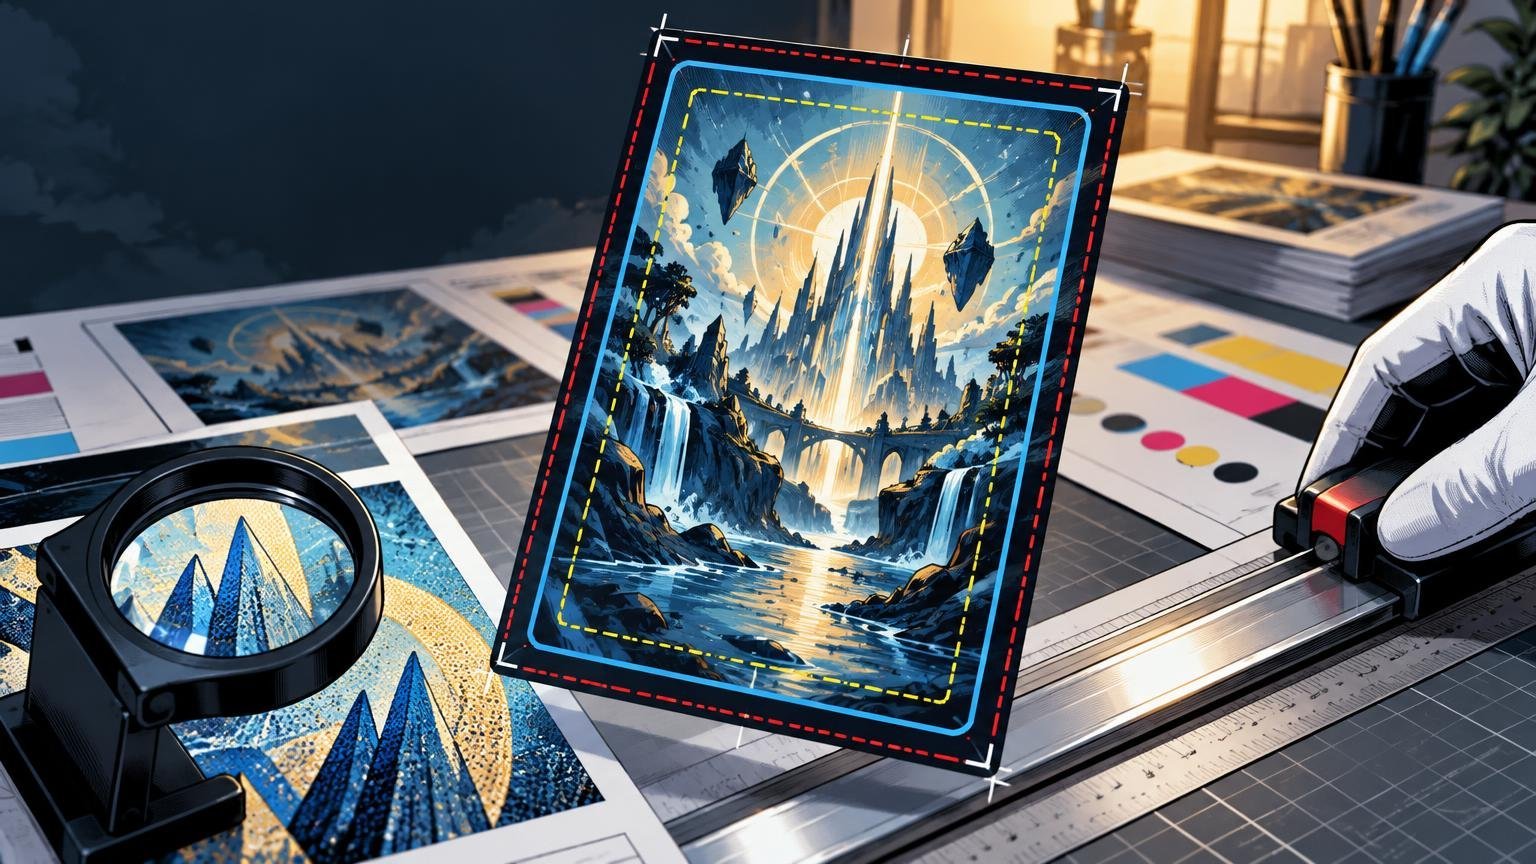
Bleed is artwork or background color extending beyond the final cut line. It gives the cutting process room to drift slightly without exposing an unintended white strip along the card edge. Names, mana costs, rules text, collector information, and other content that must survive trimming do not belong in the bleed.
About 3 mm per edge is a sensible planning reference. It is close to the 1/8-inch bleed required by DriveThru Cards, but it is not a universal production rule. DriveThru specifies 1/8 inch, or 3.175 mm, on every side, while MSC Gaming specifies 2 mm. DriveThru Cards’ current print specifications and the selected printer’s downloadable template should always overrule a generic guide.
Bleed is added outside the finished dimensions. A 63 × 88 mm design with 3 mm on all four sides therefore has a 69 × 94 mm canvas. A 2.5 × 3.5-inch card with 1/8 inch on every side becomes a 2.75 × 3.75-inch layout. Do not shrink the finished card to make room for bleed; enlarge the canvas and continue the background outward.
Extend the background instead of stretching the whole card
Full-art backgrounds, textures, gradients, and frame colors should continue naturally through the bleed. Stretching the completed card can distort text, symbols, borders, and artwork. If the source image ends at the trim line, extend or reconstruct the edge rather than mirroring a conspicuous strip whenever possible.
Thin, symmetrical borders are especially unforgiving because even modest cutting variation becomes visible when one side ends up narrower than the other. The Game Crafter’s card-template guidance similarly warns designers to account for cutting variation. Borderless designs or generous inner frames generally hide ordinary drift more gracefully.
What is the safe area?
The safe area is the inner portion of the finished card where critical information should remain. It protects the design from normal variation in cutting and alignment. Unlike bleed, the safe area is not extra canvas: it sits inside the trim line.
As a general reference, keep essential MTG-style content about 3–4 mm inside every finished edge. DriveThru Cards advises keeping important content at least 1/8 inch from the edge, while MSC Gaming uses a 4 mm safe zone. The printer’s own guide remains authoritative when its margin differs.
- Keep the card name and mana cost fully inside the safe area.
- Protect rules text, power and toughness, loyalty values, and other gameplay information.
- Move custom set symbols and small labels inward rather than aligning them directly against the trim.
- Allow decorative art to cross the trim and fill the bleed, but keep meaningful focal details away from the cut.
- Treat thin outer borders as decoration, not as precision measuring tools. The cutter has not seen your alignment grid and feels no loyalty to it.
How much resolution is enough for readable text?
Prepare the card at 300 PPI at its final printed size. That is a common baseline in the card-printing specifications supplied by DriveThru Cards and MSC Gaming. At 63 × 88 mm, it corresponds to approximately 744 × 1,039 pixels. At 2.5 × 3.5 inches, it corresponds to 750 × 1,050 pixels.
The phrase “at final size” does most of the work. A 375 × 525-pixel image does not gain missing detail when its metadata is changed from 150 to 300 PPI. If it is enlarged to fill a standard card, the software must invent pixels, and small text or fine frame lines may become soft or jagged. DriveThru explicitly warns that enlarging undersized images can cause pixelation.
Resolution alone also cannot rescue a cramped layout. Long rules text, narrow typefaces, low contrast, textured text boxes, and aggressive font reduction can all produce an unreadable card despite a technically correct 300-PPI export. Inspect the design at physical card size, not only while it occupies most of a large monitor.
Use a physical proof for text-heavy cards
Print a test page at 100% scale with scaling options such as “fit to page” disabled. Include an ordinary card, a card with long rules text, a dark card, a light card, and any design using especially small labels. Cut them out, sleeve them with the same backing cards intended for the Cube, and read them under typical table lighting.
That proof catches problems a zoomed-in screen can hide: text that is technically present but tiring to read, muddy dark areas, weak contrast, and frames that do not align with the intended cut. If you are deciding between a home workflow and an ordered card run, the broader home versus professional MTG proxy printing comparison covers the labor and consistency tradeoffs at Cube scale.
A practical preflight checklist
- Download the exact printer template for the intended card product.
- Confirm whether its finished size is metric, U.S. poker, Euro poker, or another named format.
- Build on the template’s original canvas without rescaling it.
- Extend backgrounds and edge colors through the complete bleed area.
- Keep gameplay text and important symbols inside the marked safe area.
- Verify that the actual pixel dimensions support 300 PPI at final size.
- Inspect text-heavy cards at physical scale and print a 100% test sheet when practical.
- Check every card back for consistent dimensions and alignment if backs will be printed.
- Export in the printer’s requested file format and color settings.
- Reopen the exported file and check its dimensions before uploading the full Cube.
For an ordered MTG proxy or playtest-card route, proxyfoundry.com provides an option for printing existing Magic card selections. Whichever production route you use, submit files according to that printer’s current requirements rather than carrying dimensions from an unrelated template.
Why consistency matters more for a Cube
A single playtest card can tolerate a little awkwardness. A 360-, 540-, or 720-card Cube turns every small production choice into a system. Cards are shuffled, drafted, sorted, re-sleeved, and returned to storage repeatedly. Cutting consistency, clear text and frames, stock, finish, and front-to-back alignment therefore affect the ownership experience beyond the first inspection.
Size also changes the cost of discovering an error. Before preparing hundreds of cards, confirm how many the environment actually needs with the 360 vs. 450 vs. 540 vs. 720 Cube size guide. Then run a small proof containing the hardest files, not merely the cleanest ones. The card with seven lines of rules text is doing useful quality control; the basic land is mostly enjoying the outing.
Once the cards are printed, finish and edge treatment become separate decisions from file resolution. The guide to finishing techniques for MTG proxy cards covers coatings, texture, and edges, while the MTG Cube draft-formats guide helps match the completed card pool to the group’s headcount and preferred way to play.
The final recommendation
Start with 63 × 88 mm or 2.5 × 3.5 inches as the familiar MTG-size reference, but let the selected printer’s template determine the actual file. Plan for roughly 3 mm of bleed and a 3–4 mm inner safe margin only as defaults. Export at 300 PPI using enough real pixels for the final dimensions, then inspect a physical proof at 100% scale.
The goal is not merely a file that passes an upload checker. It is a card that remains readable across a draft table, fits the intended sleeves, survives ordinary cutting variation, and can return to the Cube for the next draft without anyone identifying it by the one suspiciously skinny border.